
Transform Your Home With Stunning Wall Art
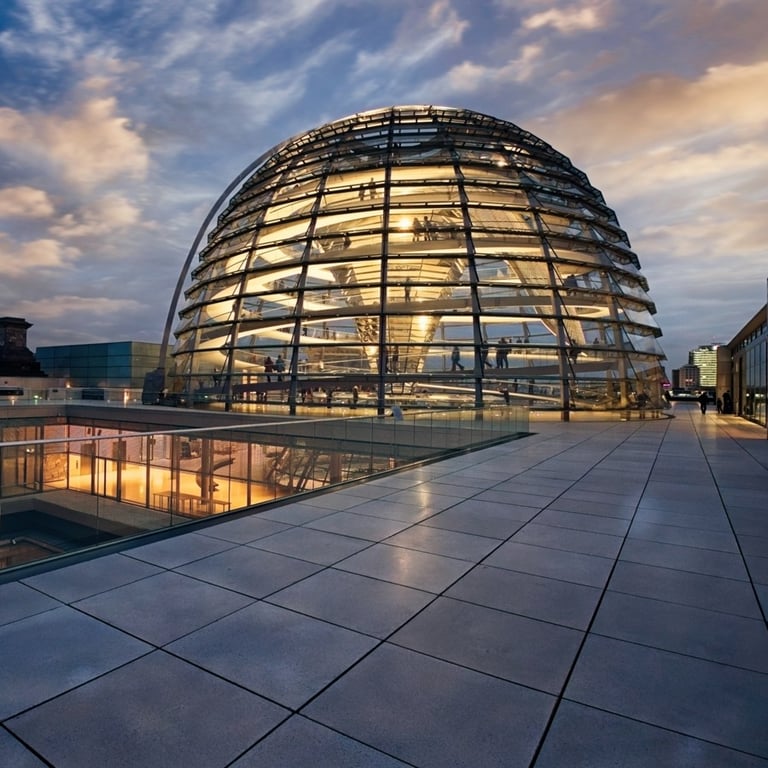
Philip Preston Photography And Digital Artworks
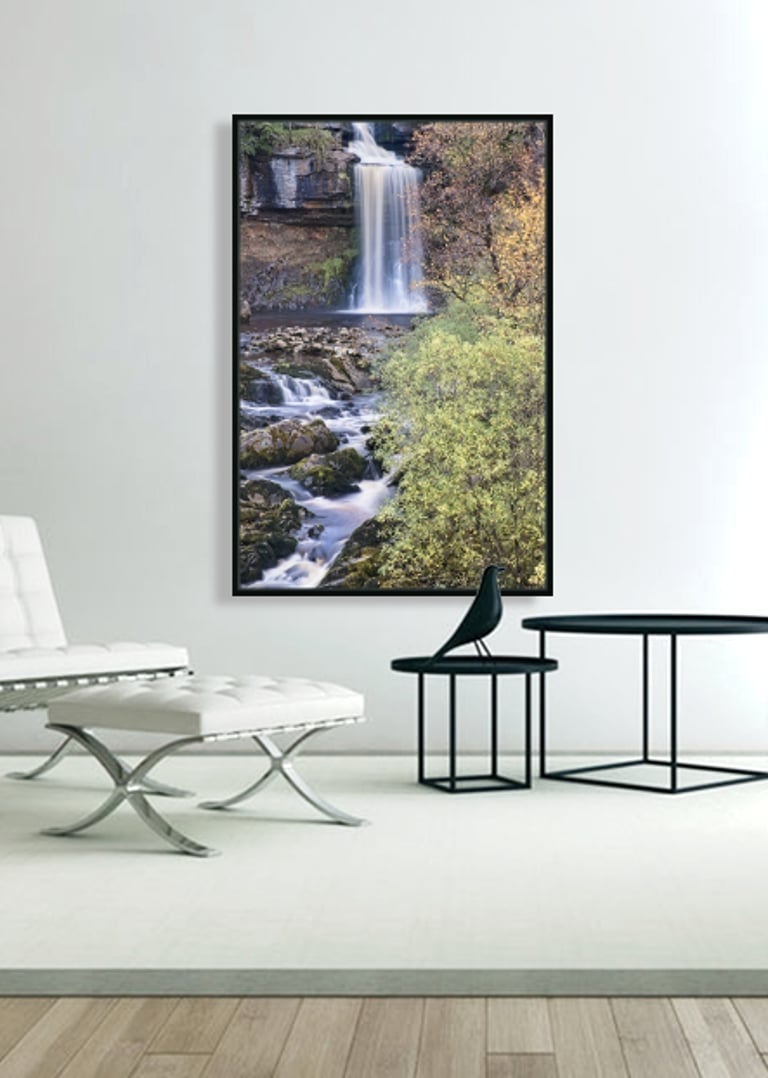


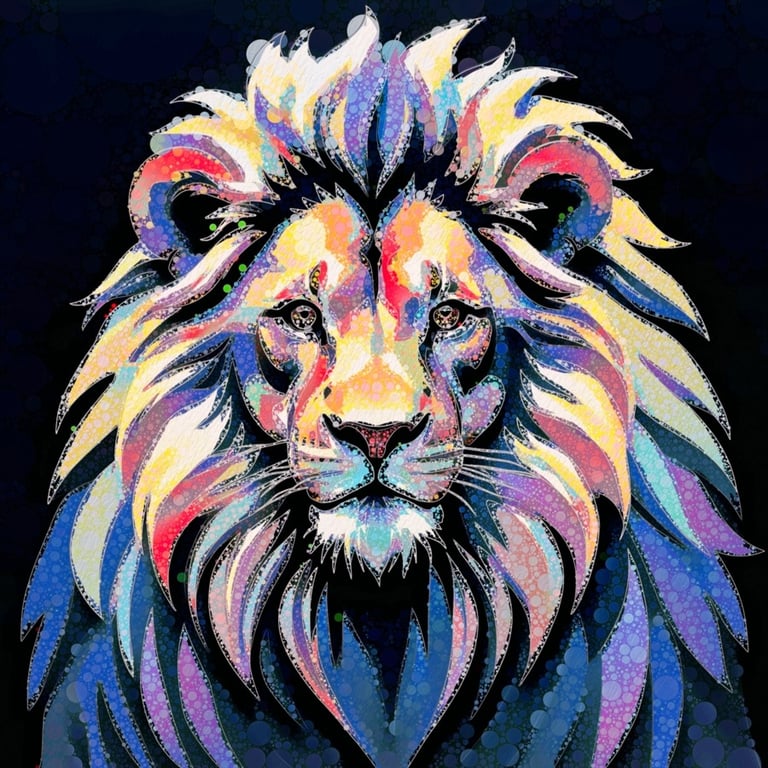
Hello, I am Philip Preston, a photographer and digital artist based in the United Kingdom. My artwork spans a mix of traditional work including landscapes, cityscapes and architecture, along with more modern and contemporary styles with a particular interest in digital mosaic's.
I currently have 2000+ artworks available to transform your home or office wall art, with a 100% satisfaction and 30 day money back guarantee through my Fine Art America print store.
Read more about me and my creative journey here : About page.

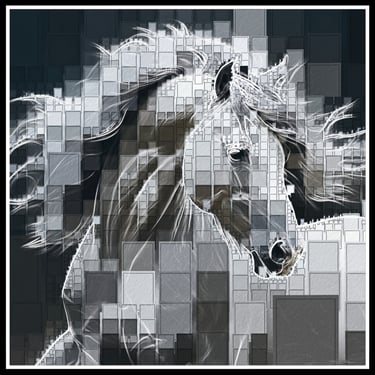
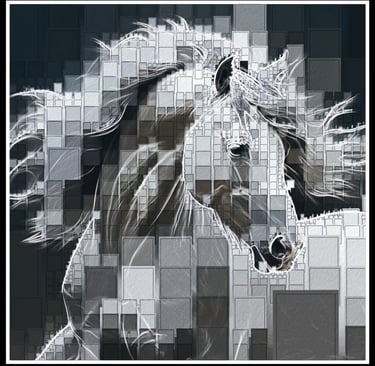
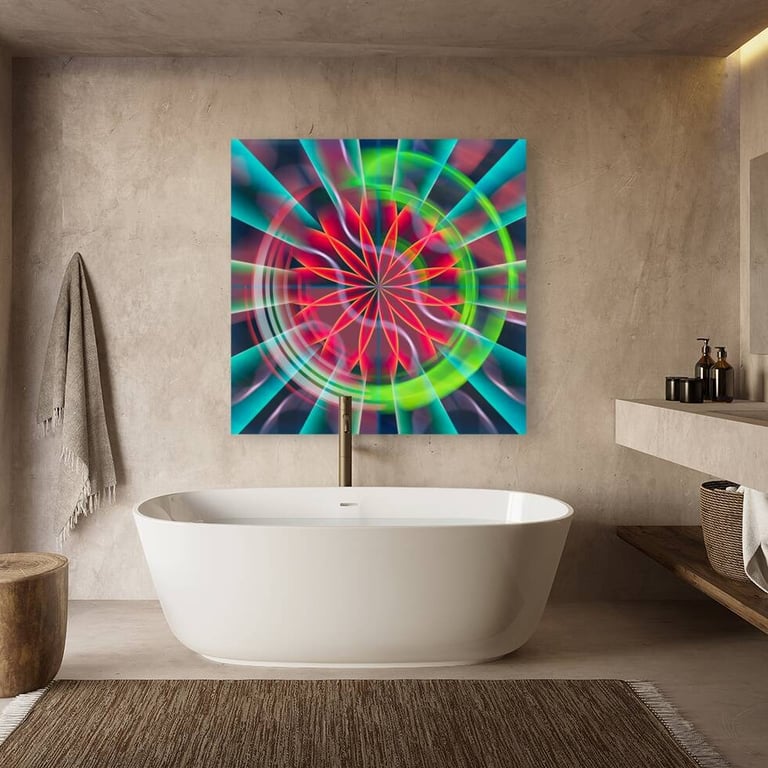
Discover a mix of traditional and modern artworks, including unique digital art mosaic's, available as museum quality prints in framed, canvas, metal, and acrylic formats.
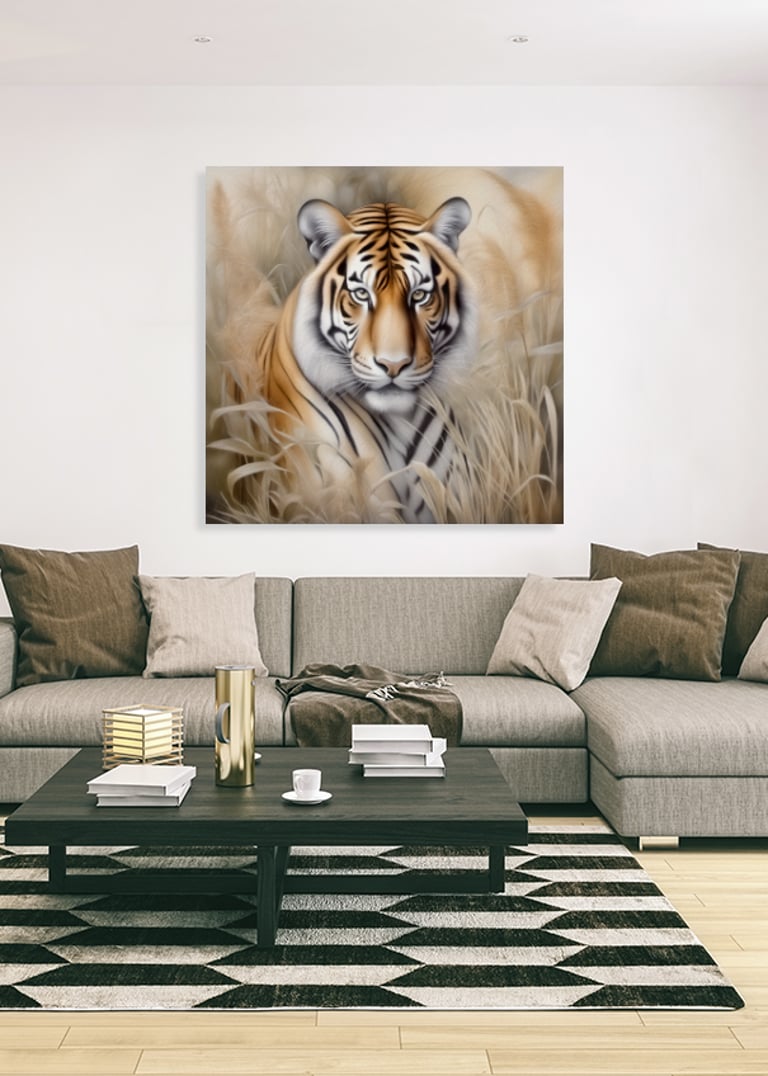
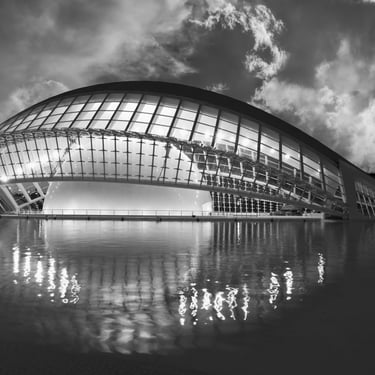
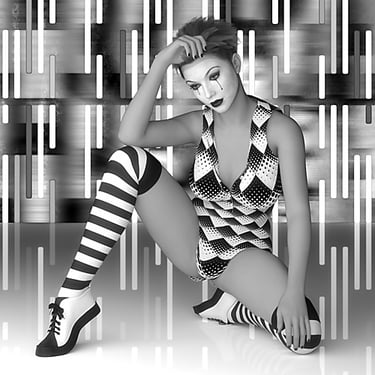
Digital Art
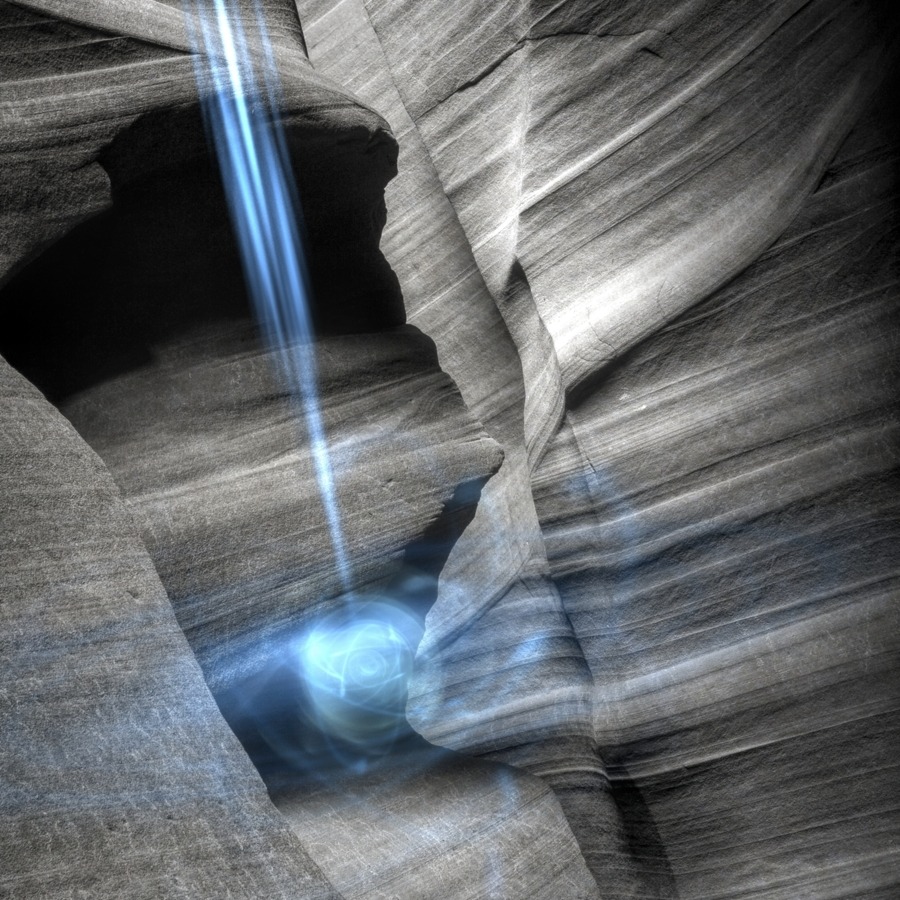
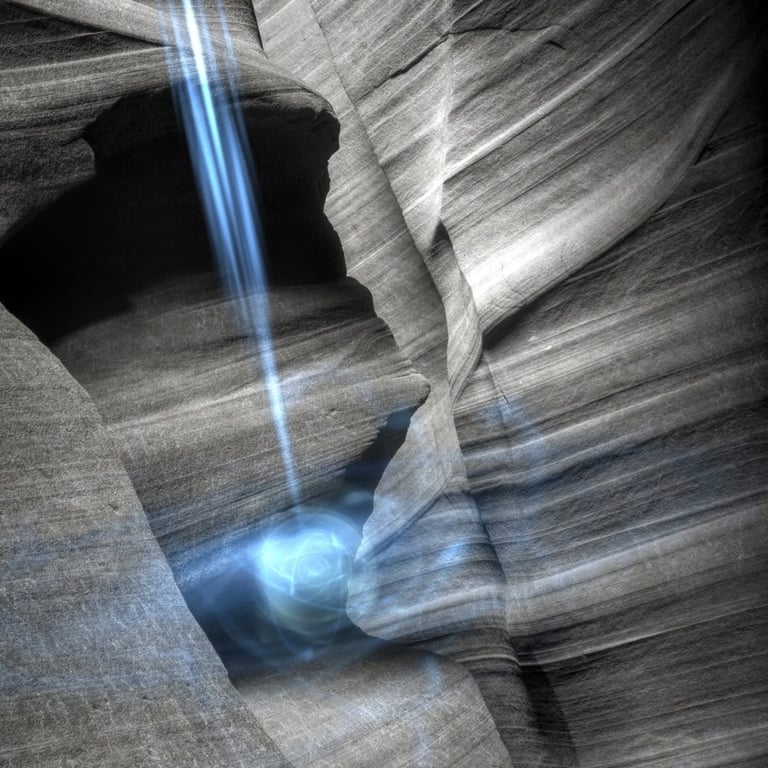
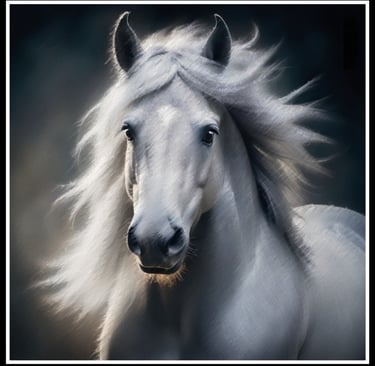
Photography
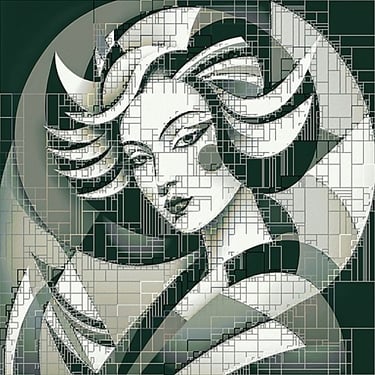
Mosaic Art
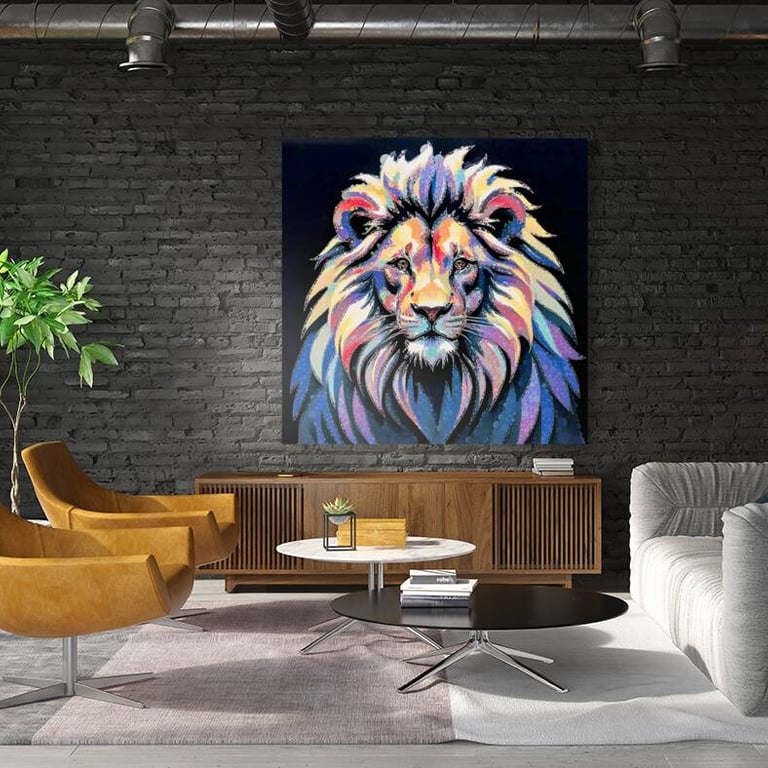
Choice Of Product Options
Framed Prints


Canvas Prints
Images are printed onto a premium canvas and then stretched on a wooden frame of 1.5" x 1.5" stretcher bars (gallery wrap) or 5/8" x 5/8" stretcher bars (museum wrap). Your canvas print will be delivered "ready to hang" with pre-attached hanging wire, mounting hooks, and nails.
Metal And Acrylic
Images are printed directly onto a sheet of 1/16" thick aluminum. The aluminum sheet is offset from the wall by a 3/4" thick wooden frame which is attached to the back. Acrylic images are printed onto the back of a 1/4" thick sheet of clear acrylic. Both substrates produce stunning results.
Bring your purchase to life with multiple frame and mat combinations. Framed prints are assembled, packaged, and shipped by expert framing staff and delivered "ready to hang" with pre-attached hanging wire, mounting hooks, and nails.
Greeting Cards
Other Products
Greeting cards are 5x7 inches in size and produced on digital offset printers using 100lb paper stock. Cards are protected on the outside with a protectant which produces a semi gloss finish. Cards can be customised inside with up to 500 character messages, and come with a white envelope for mailing or gifting.
Puzzles are made from 0.2 inch thick paper stock and include a semi gloss coating to make the image pop. Puzzles are available in 4 different sizes and each puzzle includes a box with the puzzle printed on the top for safe storage. Puzzle pieces are unique shapes. Available sizes are: 12x16 inches (96 pieces or 252 pieces), 18x24 inches (500 pieces) and 20x28 inches (1,000 pieces).
Jigsaw Puzzles
Additional print products available include, throw pillows, tote and weekender bags, phone cases, t shirts, spiral notebooks, coffee mugs. Further details regards size and materials are provided on the images shop page.
Choice Of Subjects
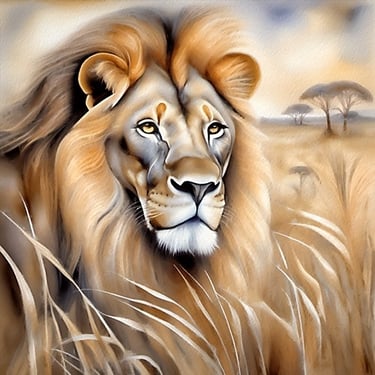

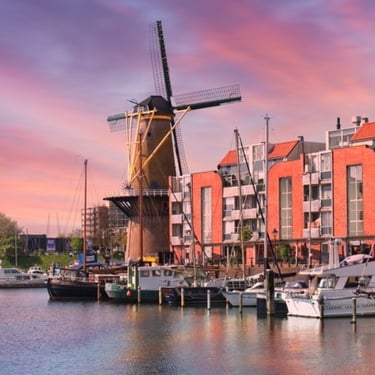

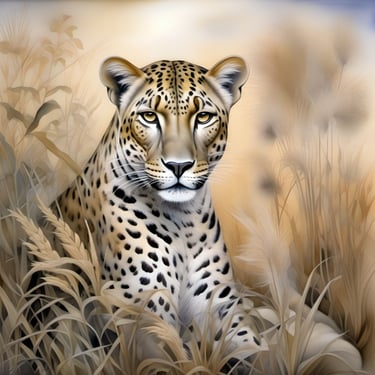
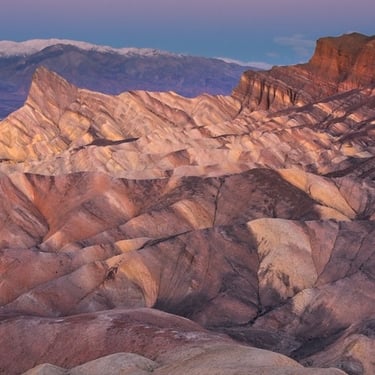
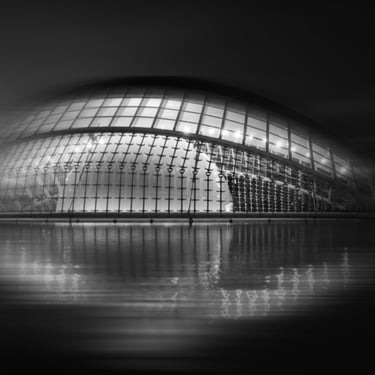


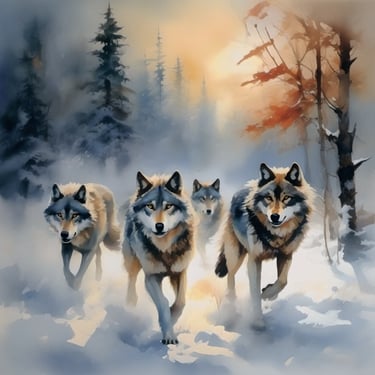

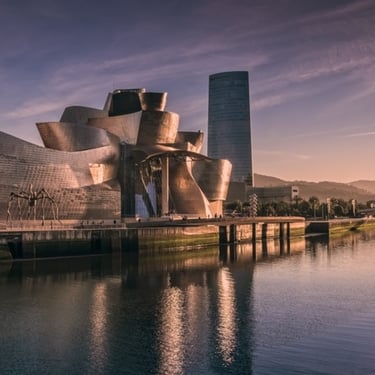
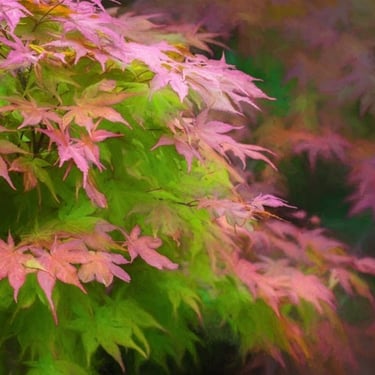
Landscapes, Seascapes, Architecture, Cityscapes, Animals, Portraits, Mosaics, Plants, Gardens

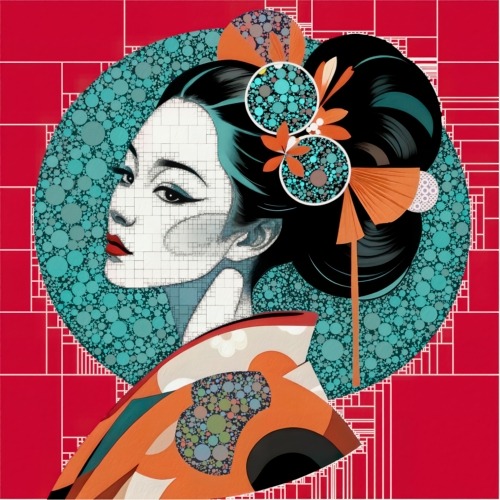
New Artworks Available For Purchase
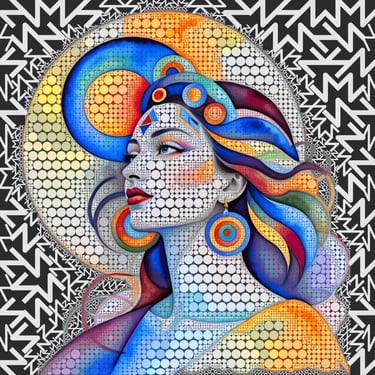
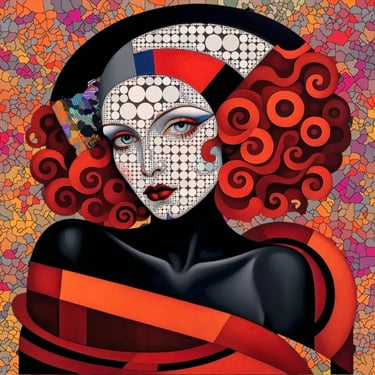
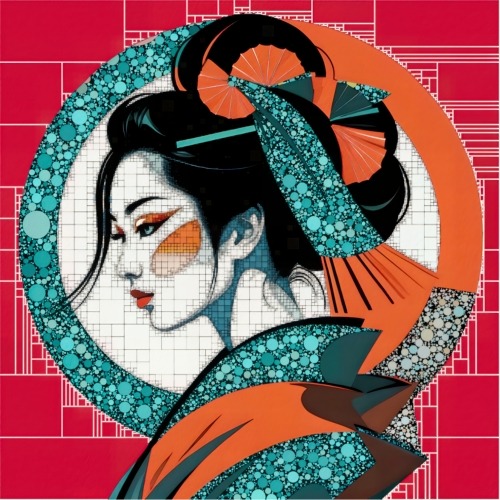
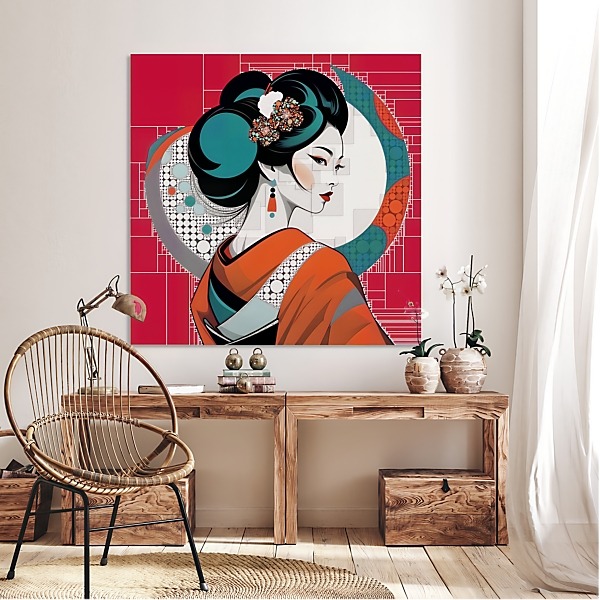
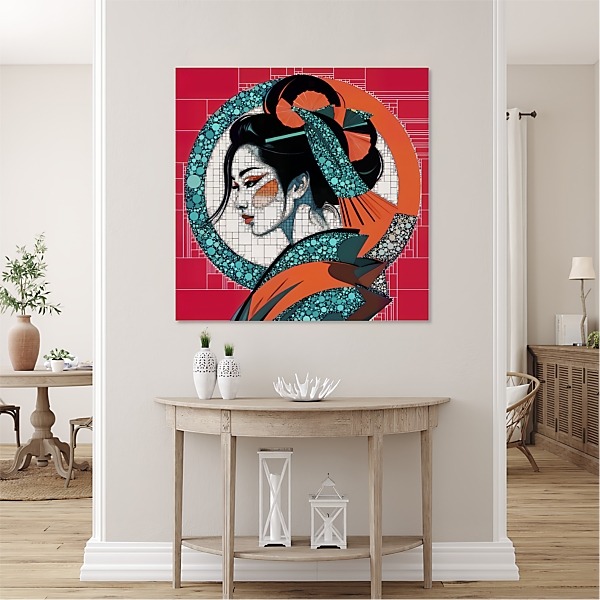
Three new digital artworks are available for purchase, featuring mosaic style Japanese Geisha portraits. These beautiful colourful artworks featuring red, orange and green colour tones will add modern and contemporary sophistication to your home, office or business wall art with their intricate mix of geometric shapes and patterns. Available in a range of formats, including framed, canvas, acrylic and metal, with prints sizes starting at 8x8 inch's, and up to large format 48x48 inch's. These artworks are available for purchase from the Philip Preston Fine Art America store, and come with a 100% satisfaction and 30 day money back guarantee.
Quality Assurance And Worldwide Shipping
All photography and digital art prints by Philip Preston are sold through Fine Art America / Pixels. Established in 2006, they have become the world's largest art marketplace and print-on-demand technology company. Each purchased product is manufactured at one of 16 global production facilities, located in 5 different countries and running 24 hours per day. Delivered "ready-to-hang", all purchased products come with Fine Art America's 30-day money back guarantee for your peace of mind when making purchases.


© Copyright Notice
All images copyright Philip Preston photography and digital art. No images by Philip Preston are in the public domain and must not be copied or used for any purpose unless agreed in advance. Use the Contact Form on this website for any enquiries about usage.